Guide to Signage Permits,Approvals & Site Surveys for Businesses
Getting a new sign for your business is an exciting step. Whether you are installing a large pylon sign by the highway, adding a high-impact building wrap, or putting up illuminated 3D letters over your store entrance, your sign helps customers find you.
However, many business owners run into unexpected delays during the project. Why? Because they overlook the legal steps, local council permits, and site checks needed before installation.
Securing your signage permits and approvals early is the smartest way to avoid fines, delays, or costly redesigns. Here is a simple, step-by-step guide on how to handle site surveys, local permits, and safety checks so your sign goes up smoothly.
Simple Guide to Signage Permits & Site Surveys
1. What Is a Site Survey and Why Do You Need One?
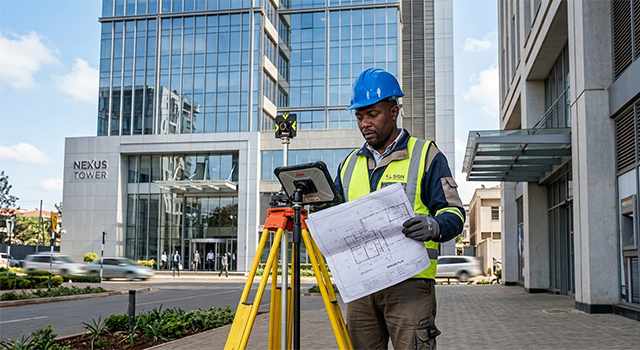
Before making your sign or submitting permit forms, an expert team needs to visit your property. This visit is called a site survey. Skipping this step is the number one reason sign projects get delayed or rejected.
During a site survey, technicians check three important things:
-Wall and Building Strength: Different wall surfaces (like concrete, brick, or glass) hold weight differently. A survey checks if the building can safely hold your sign.
-Power and Electricity: If your sign lights up, it needs a safe power connection. Finding the power lines early prevents electrical problems later.
-Wind and Weather Exposure: Outdoor signs must stay strong during heavy winds and rain. The survey makes sure your sign is built to handle local weather safely.
2. Navigating Local Permits and City Approvals
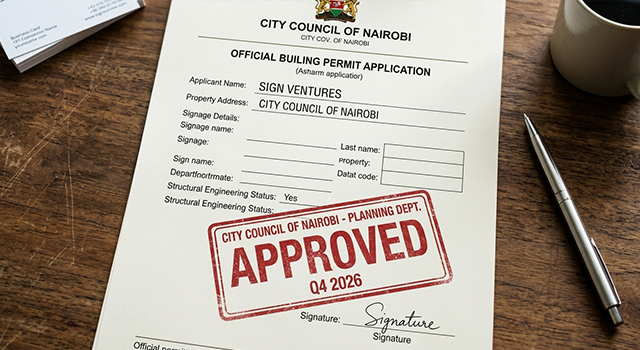
Local city councils and government planning boards have rules about outdoor advertising. These rules cover sign sizes, height limits, how bright your lights can be, and how close your sign can be to the road.
To get your permit approved quickly, follow these three tips:
Check the Rules First: Every area has different zoning laws. Knowing what is allowed before designing your sign saves time and money.
Submit a Complete Application: Missing documents are the main reason council approvals get stuck. Always include simple design drawings, property permissions, and technical details.
Plan Ahead for Processing Time: Local offices need time to review documents. Starting early gives you plenty of time for processing without stressing over deadlines.
3. Keeping Your Sign Safe and Fully Compliant
Safety is crucial when installing large signs. A sign that is not installed properly can fall or cause electrical issues, creating risk for your property and passersby.
Working with a professional sign maker keeps your business protected:
Certified Engineering Plans: For tall or heavy signs, certified engineers verify that the structure is completely safe.
Safe Electrical Parts: All lights, wiring, and power boxes must meet national safety standards to prevent fire risks.
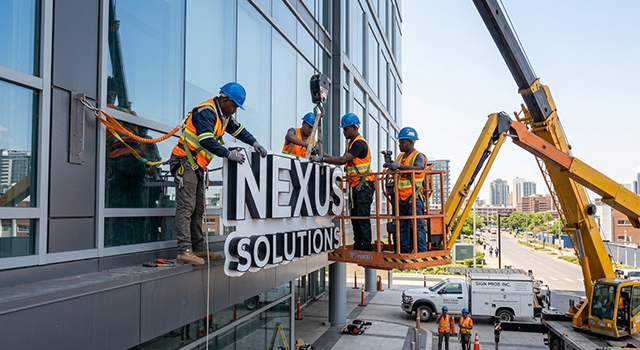
Professional Installation Crews: Certified installers use cranes, safety harnesses, and proper tools to mount your sign safely without disrupting your business.
4. Simple Timeline: From Site Survey to Final Approval
Here is a straightforward timeline to keep your project moving forward without delays:
Week 1 (Property Check): Book an on-site inspection and site survey with your sign provider
Week 2 (Design & Engineering): Finalize your sign design and get all required safety calculations checked.
Week 3 (Submit Application): Send your complete permit application to the local council for approval.
Weeks 4–6 (Production & Site Prep): Your sign is manufactured while power lines and mounting spots are prepared on-site.
Week 7 (Installation): Install your brand-new sign safely and complete final safety checks.
Partner with Sign Ventures for Easy Approvals
You do not have to worry about complicated paperwork or technical checks. At Sign Ventures, we handle the entire process for you, from initial site surveys and permit applications to custom fabrication and safe, professional installation.